
Latest update:
Matching E3D’s new
RapidChange™ family:
Revo™ Hemera
Ever since I held the first Hemera in my hands – at that time, it was called Hermes – I’ve been missing a properly working fan duct.
Well, there are a couple good looking fan ducts available, but if you check their performance with testprints or the trusty “bowl-of-water” method, you can easily spot their weakness.


fan duct by p3t3rp4nd4
Over the last couple of months, I was using the best available fan duct I knew of, released by p3t3rp4nd4 at prusaprinters.org roughly a year ago.
His design was one of the few that seemed to be very good, but tests showed that the side channels deflect the airflow behind the nozzle, non-symmetric and uneven, sharp downwards. Bummer!
After inspecting the insides, it seems that the flow channels aren’t that ideal as well. This reduces the available airflow even more, especially with a small 40×10 blower to begin with.
Regardless of the mentioned drawbacks, it’s an improvement over the stock fan duct (sorry Greg) and I did print successfully with it. I’m also in touch with Peter and suggested several improvements. Maybe he will update his fan duct in the future.
But I wanted it better…!
So I reached out to a friend of mine that happens to work at BMW in the field of aerodynamics, to help me design a very good fan duct. In the beginning, I wanted to cover all 4 sides with airflow, but I was told that it wouldn’t work out that way. Instead, my friend gave me a whole lot of advices and several rules of thumb to work with, he tested my designs, told me what to improve to enhance the airflow and this is how I ended up with a standard 3/4 side fan duct. To visualize the airflow, because I wanted to understand it better, I put the designs into the free to use Software “simscale“. That’s where all these fancy looking pictures come from. In the end, the fan duct looks familiar, doesn’t it?


But look at the inside! It‘s unbelievable how many things one has to consider to make a proper fan duct! Never could have done it without the help of my friend. One goal when designing such a fan duct is to even out the different channels. There’s more back pressure in longer channels and if they are curved, it get’s even worse. Then, when leaving through the outlets, the different airflows should combine and not form individual paths, for example. There is way more to this, but you will get the point 😉
Take a look at the visualizations below which show the three channels and how the airflow combines to a single big stream:


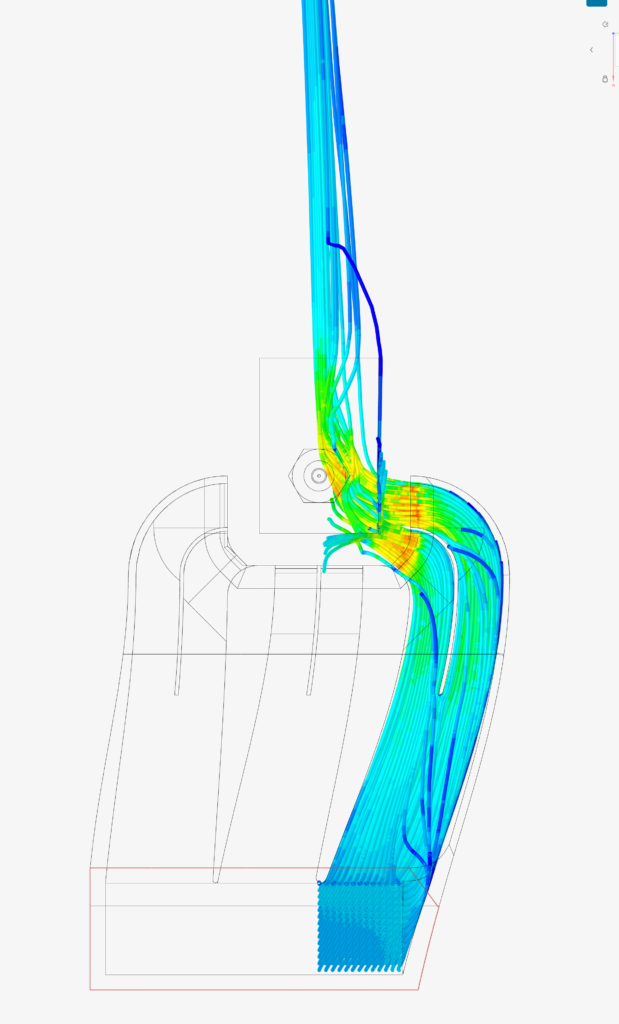

The three separate channels combine the airflow very symmetrical so that the area (nearly) all around the nozzle is hit evenly by the airstream.


Several people helped testing the fan duct and their feedback helped me to develop the design even further. Check out the feedback of well known Filament Frenzy, for example:

“I think at this point we hit the maximum air flow that fan can push, other shrouds didn’t have peak airflow. Yours sends all the possible air in the right places!”
— Tom aka Filament Frenzy ™ about his experience with the fan duct
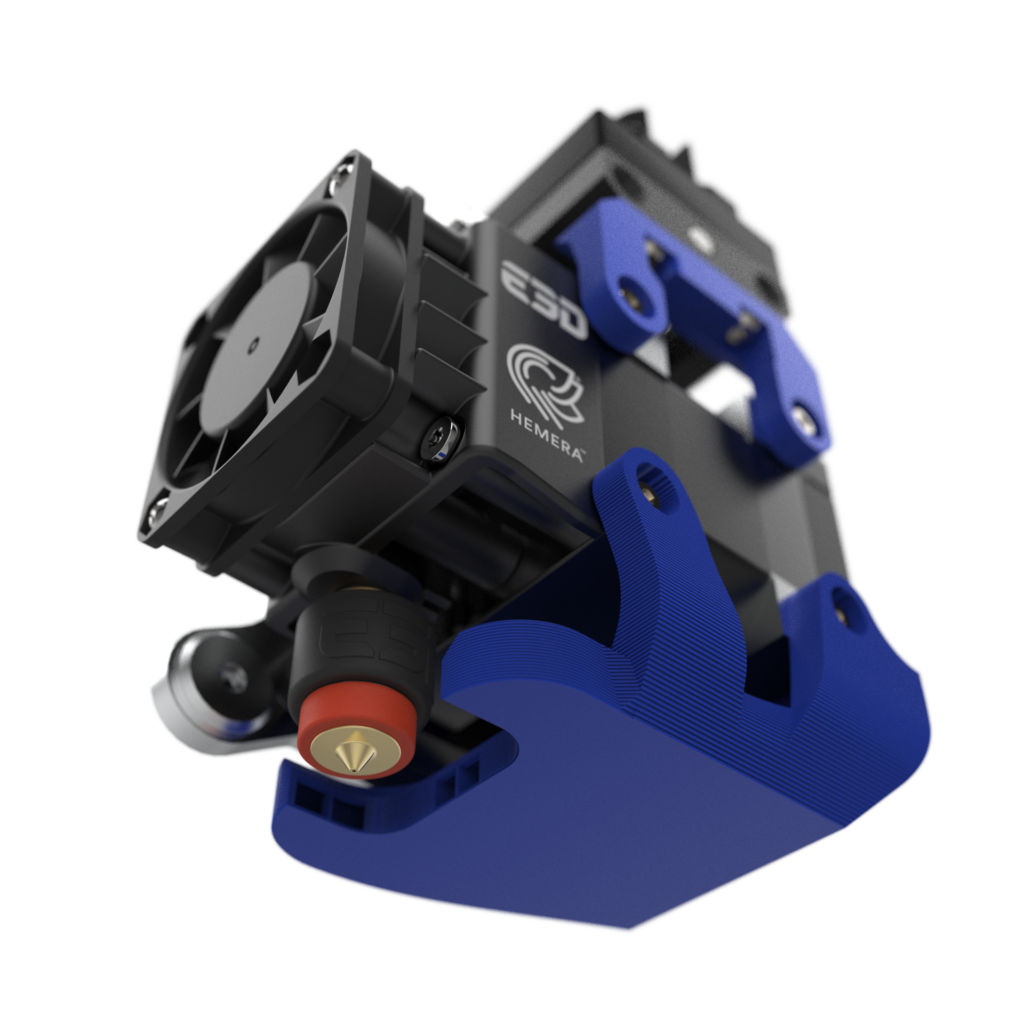
Some real world pictures to round this of:


All the calculation and testing happened three times!
For 3 different versions:
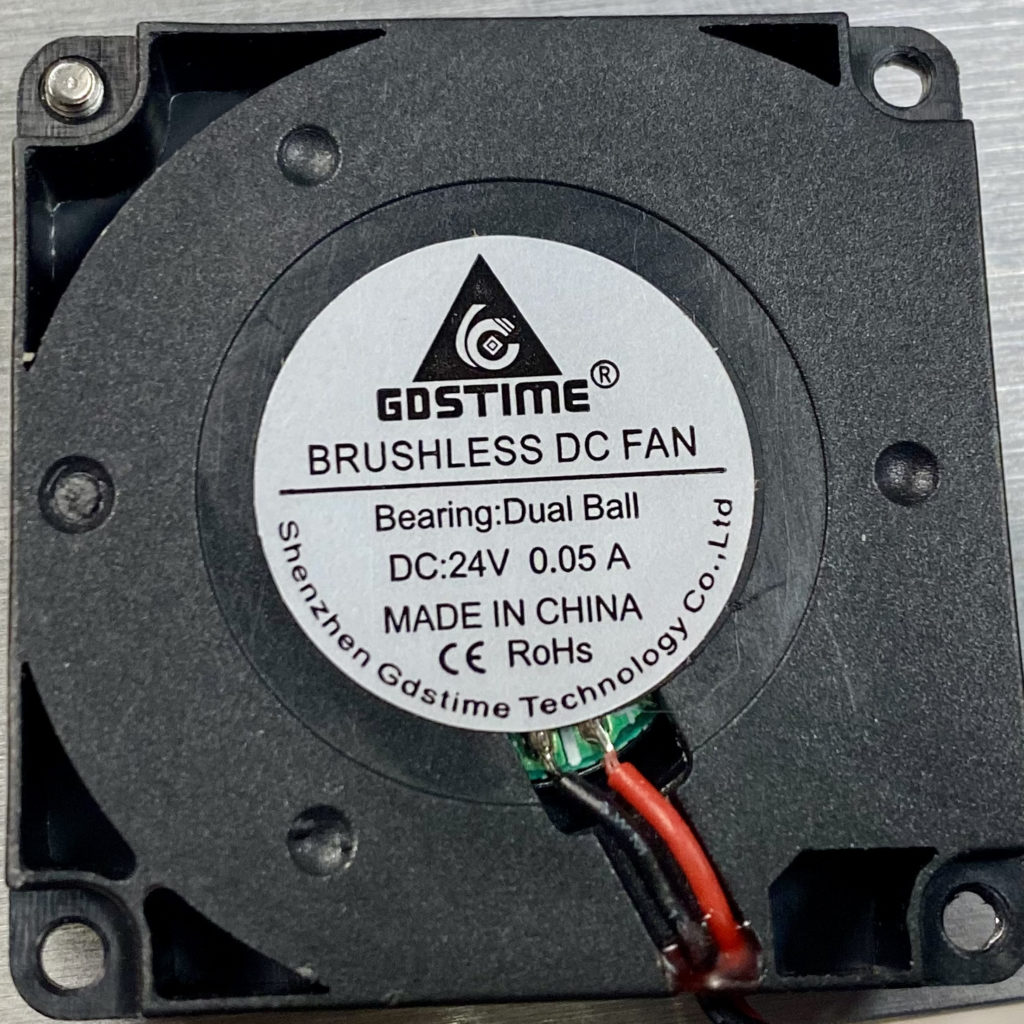
the now “with the TC-Hemera-Tool included” GDSTIME 4010 blower fan:
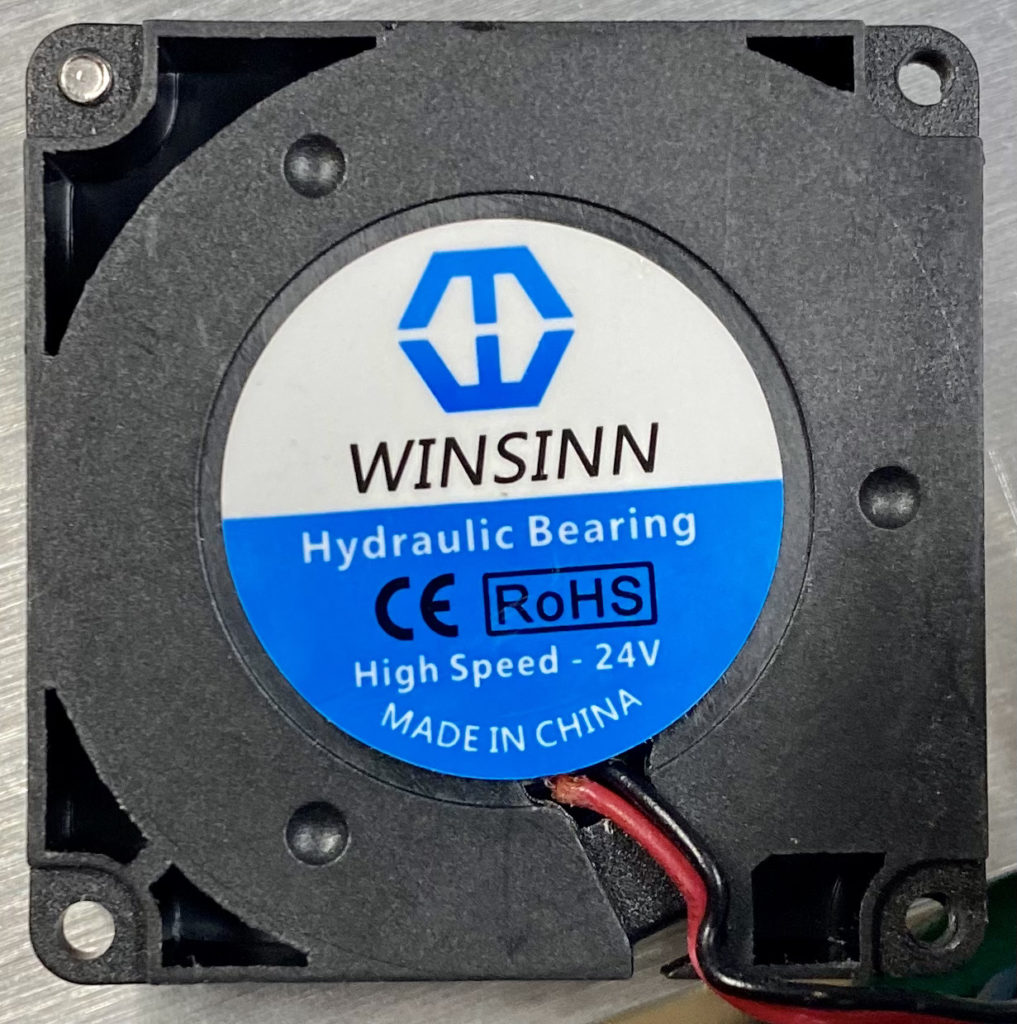
the WINSINN 4010 blower fan that came with the tools last year
the high end ebmpapst 5015 blower fan, for which I updated Gregs design previously.

Also for DUET3 Toolboard:

fan duct GDSTIME &
DUET3 Toolboard
Update: Matching E3D’s new RapidChange™ family: Revo™ Hemera
More beautiful renders because the Revo Hemera is sexy AF:


What versions are available:
- 4010 blower – height-adjustable style
- 4010 blower – height-adjustable style (left sided mounting points for generic printers)
- 4010 blower – REVO style
- 4010 blower – REVO style (left sided mounting points for generic printers)
- 4010 blower – V6 style
- 4010 blower – V6 style (left sided mounting points for generic printers)
- 4010 blower – Volcano style
- 4010 blower – V6 style + Duet3D toolboard
- 5015-ebmpapst blower fan – V6 style
- 5015-ebmpapst blower fan – Volcano style
print setting recommendations:
- align the bridging direction so that the tracks span across
- for me, I do 5 perimeter, 5 top&bottom at 0,2layerheight
- extrusionwidth at 0.4 to 0.42 works best for the thin fins
Download:
As a Patron, you can download the fan ducts here:
Download Hemera fan duct (Patreon Content)
Or download them for a small contribution on:
https://cults3d.com/en/3d-model/tool/well-engineered-hemera-fan-duct
Pingback: E3D’s Toolchanger – Hemera Tool stock fan duct for 5015 ebmpapst blower – René Jurack
Pingback: well-engineered: Hemera fan duct – Blingorbit
I bought 2 of the high end fans on ebay. They look exactly like the unit in your picture so i am sure they are the right fan. i had to use superglue to fasten them in to the part cooling ducts. They did not clip in or fasten in any other way. They were easy to glue in however and they work very very well in your PCD. There is a small crack about 1 mm wide where the fan meets the duct through which a strong breeze escapes. I will try to plug it with glue. Best PLA prints I have ever gotten. How do you run these fans for printing PETG? I know you use PETG for almost everything.
You are putting in LOT OF HARD WORK and i really appreciate it. Without you my tool changer would be languishing but i am now converting to hemera’s and will probably get going on some multicolor prints soon.
Fans are extremely noisy….maybe i don’y need to run them at 100%.
Thank you
Hi Doug! Thank you for your kind words, they mean a lot to me!
Did you attach the EBMPAPST fan with the top bracket?
There shouldn’t be a gap at the outlet, but it will fit somewhat loosely.
Oh, and 100% is definitively too much for general use on PLA. I run them at half the usual power and only crank them up at very long bridges or such.
Hi! I recently installed my first Hemera with the 4010 duct. While it works great unmounted, it seems like the electromagnetic field from the stepper motor is causing issues with the fan. Did you experience anything like this when testing, and if so did you find a solution? Video of issue here: https://gfycat.com/sandyclutteredafricanwilddog
Hi Connor, try using ballbearing fans. The magnetic field of the motor will work against the maglev function.
Hi, Great write up and fantastic effort. One question if you dont mind.
Does it matter what printer I have? I have Ender 3 pro. I Have the original Hemera, no revo.
Thanks
Will a 4010 blower fan be enough for the Revo? Most part cooling fans are 5020’s my current fan is a 5020.
I’m tempted to buy the stls from cult 3d. But wanted to check.
It is 🙂
I got the design from cults, I printed the shroud , using 4010 , but there is no file for the top bracket as per photo “Hemera tool with fan duct”
Please read the description: „ The upper bracket to hold the 4010 blower fan at the top is not my design and can be downloaded directly from E3D here: https://github.com/e3donline/ToolChanger/blob/master/Hemera%20Direct%20Tool/STLs/Hemera_PCF_Bracket.stl“
Fantastic…
Now that the Hemera XS is arrived, we need a duct for him. Is it possible for you to provide, og can you provide me with CAD file for Fusion3d. or STEP, so tha i can modifi myself..
Great work, exptional cooling,
Using EMPabst FAN.
BR Tom.
New fan ducts are in the works already 🙂
any news on the XS?
Any plans on a version where the fan is out on the side instead of behind the stepper?
The Ender 5 Plus is a bit tight with the fan orientation. I love the design and am using it still. I am looking at trying to get some usable bed space back.
Looking forward to xs version! Amazing work.
UPVOTE – waiting badly for the XS release
Any chance of a version that works with the standard 5015 fans? The ebmpapst is very expensive here in the UK! Also a BLtouch mount would be great
Also can’t wait for a Hemera XS & Pabst Version 🙂
Hi, love the design but I’m having trouble finding a compatible fan.
I tried both the WINSINN 4010 blower fan and the GDSTIME 4010 blower fan, none of them will work reliably. They sometimes will start, sometimes not, sometimes stop for no apparent reason.
Is there anything I could do ?
What about a design for generic 5015 blower fans? The 5015 linked is pretty expensive. Also, looking forward to those Hemera XS designs. Will definitely purchase if these two criteria were met.
Any updates on the fan ducts for the Revo Hemera XS?
I’m finally getting around to this duct for my Hemera Revo! Super excited to mount it on! Also just ordered a XS so once it is available that will also be sweet.
I do have one question though. What are the specs on the screws for mounting the fan on onto the mount?
Thanks, keep up the great work
Version for mounting this on generic printer (Ender 3) and Ebm Papst 5015 does not seem to be available. Is there any reason for this, or you have never produced such version ? If this is the case, would you consider creating this version ?
Any news on the XS version?. I purchased this version which is being held on to the XS by one screw which, while it seems to work, is not ideal.
Rene, any chance you could come up with somthing similar for the v6 Bowden heads.
Love this design, currently using ebmpapst + revo and this is the best my printer has ever been! I’m very gratefull!
I’m currently interested in the XS stepper motor for the hemera.
Any plans in adapting this to attach to th XS motor?
If not is there any way I could attempt to make this modification?
Hi, are you planning on changing up the design to fit the Revo Hemera XS? Thanks!
The Winsinn blower fan will not work due to interfere with the extruder motor. Works fine when uncounted. This is using winsinn 24v ball bearing fans.
Do you plan to create a version for the Hemera XS?
Wish you made one for other 5015 fans the only ones like this I can find are on ebay and are from China and I suspect they may be fake.
hi. great work! but its not for the hemera xs 🙁
would it be possible to get the design file to modify the fanduct? Or is there now a Hemera XS version?
I also have a bl touch on the Ender 5 plus. can you also integrate it?
thanks
Hi! This seems great! Do you have an plans for a version for the BIQU H2 V2S REVO ?
It’s getting quiet here… Any chance a version for the XS is coming in the near future?
Will i be able to use a generic 5015 fan or is the dimensions different from ebmpapst?