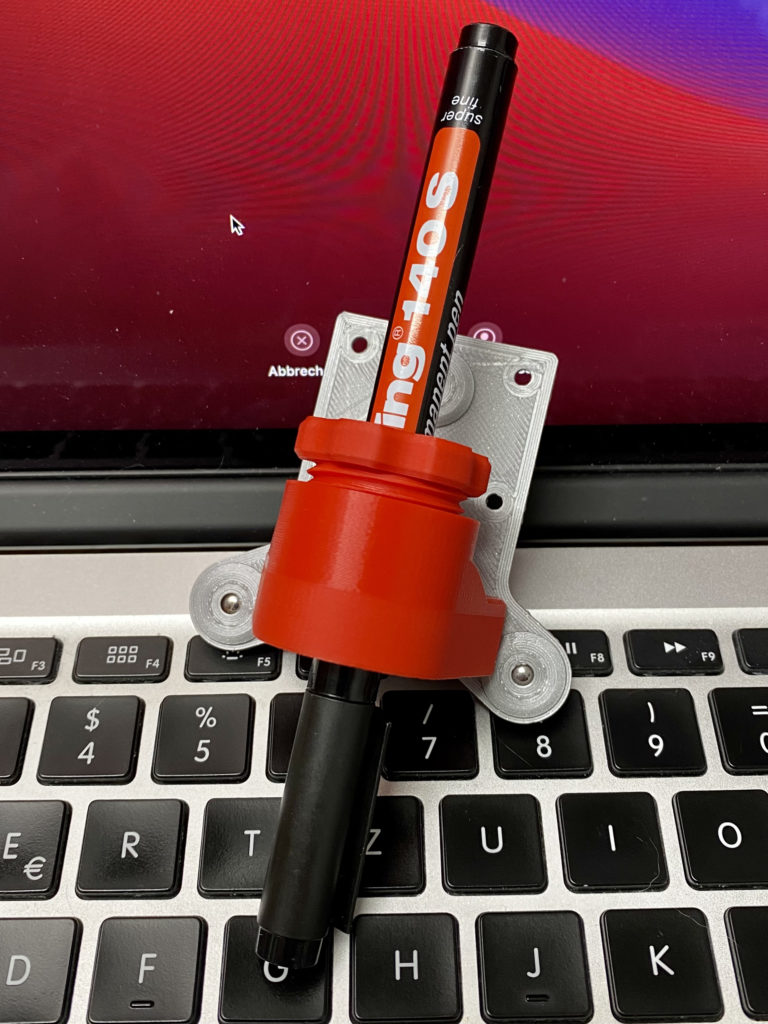
With the passive Pen Tool, you are able to securely attach a pen or plotting knife to the E3D-Toolchanger with ease!
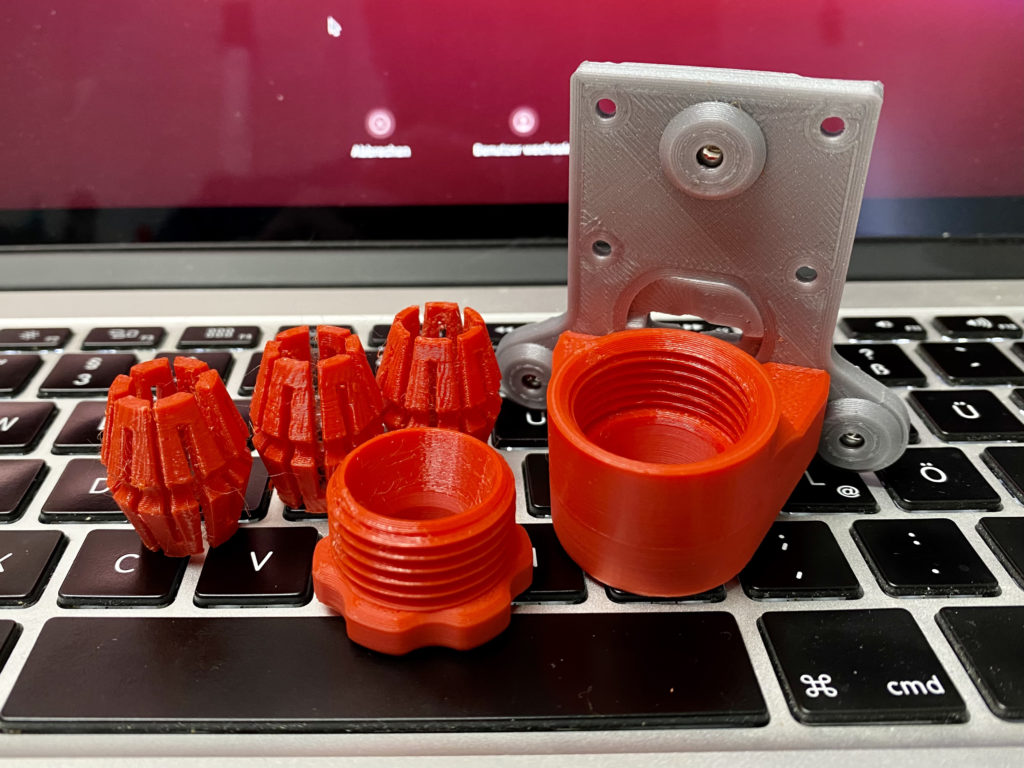
The design features an incredible tight grip on fitted pens, while being versatile through the use of collets which can be changed in size parametrically.
Equipped with this tool, head out to drawingbots.net/knowledge/tools to get inspired what’s possible with a simple pen attached to your printer and create some SVG-files (Scalable Vector Graphics) for you new tool.
To convert the created SVG files to gCODE, you could use programs like https://lightburnsoftware.com, which is free to try. With a couple of clicks you will be able to trace some lines on your own ToolChanger!
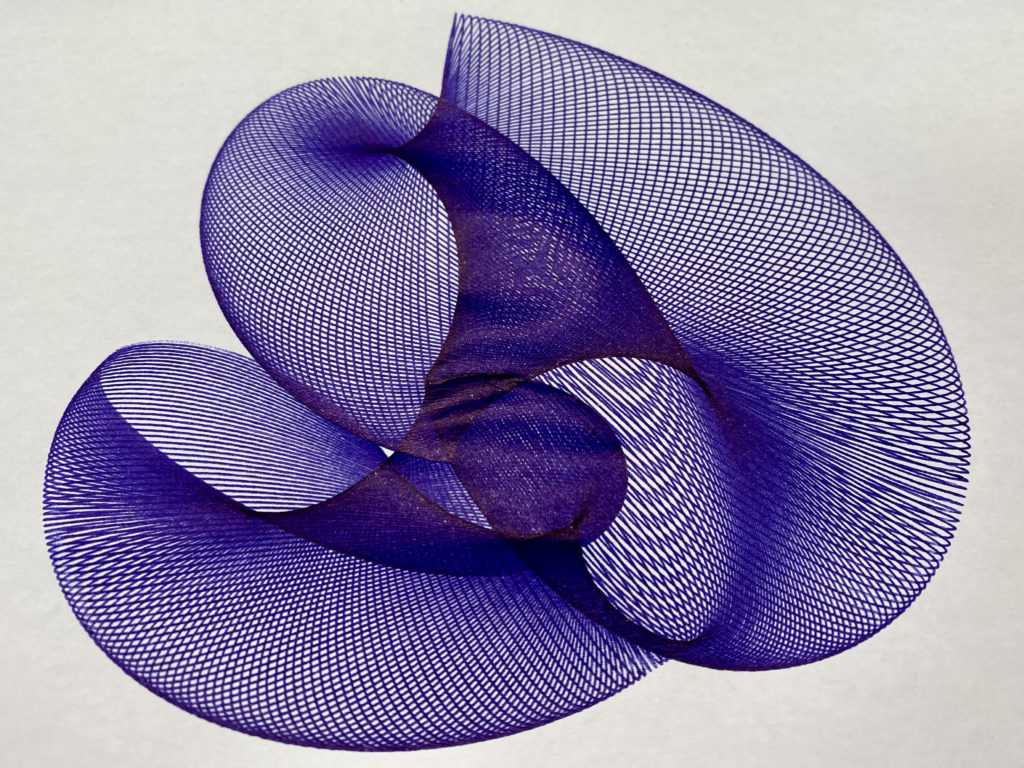
Designs like these can be created easily with harmonographs like https://ttencate.github.io/harmonograph/
How to print:
- No supports needed
- standard 0.2mm layer height will work fine, even for the threads
- for the collets choose a slightly different layer height, e.g. 0.17mm instead of 0.2mm, so that its layer lines don’t interlock with the layer lines of the taper
How to use:
- before fitting the heat inserts, drill the holes to the corresponding size of your inserts (usually 3.5mm or 4mm)
- you can use a 3D-printed tool plate, as the forces and speeds will be low
- assemble the taper, collet and nut loosely, put in a pen or cutting knife and then tighten the nut to span the collet. Ther’s no need to tighten the nut excessively.
- beware of tool-scripts like wiping, purging, cleaning, cancel and end-scripts that may be automatically executed before or after a job
“Ball pen hack”
Ball pens can be “hacked” to make use of their springs to apply even pressure during plotting.
Then start to use the pen tool for advanced stuff, like for easier support removal. Check out this article for more info:
Download:
As a Patron, you can download the files here:
Pen & Cutting Tool (Patreon Content)
User builds:
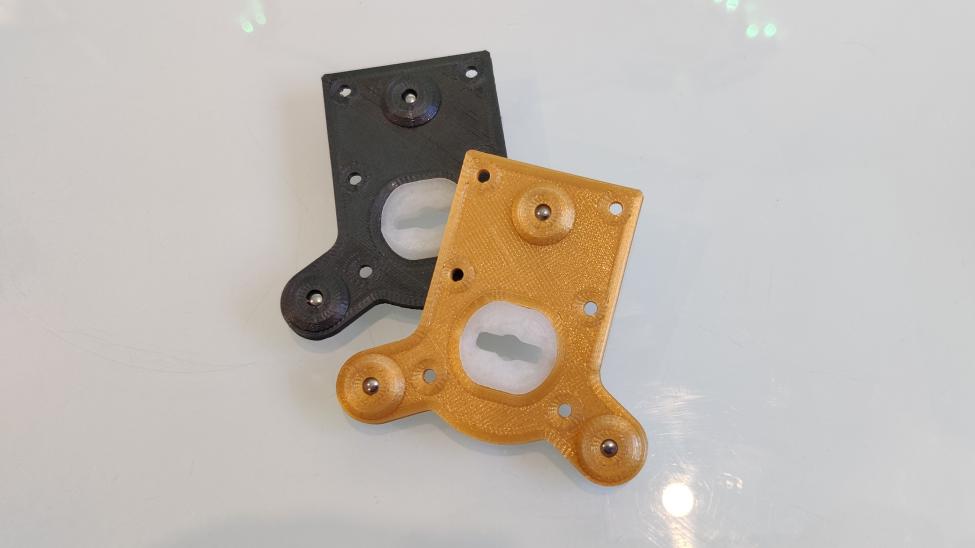
3D-printed tool plate (@Diamondback) 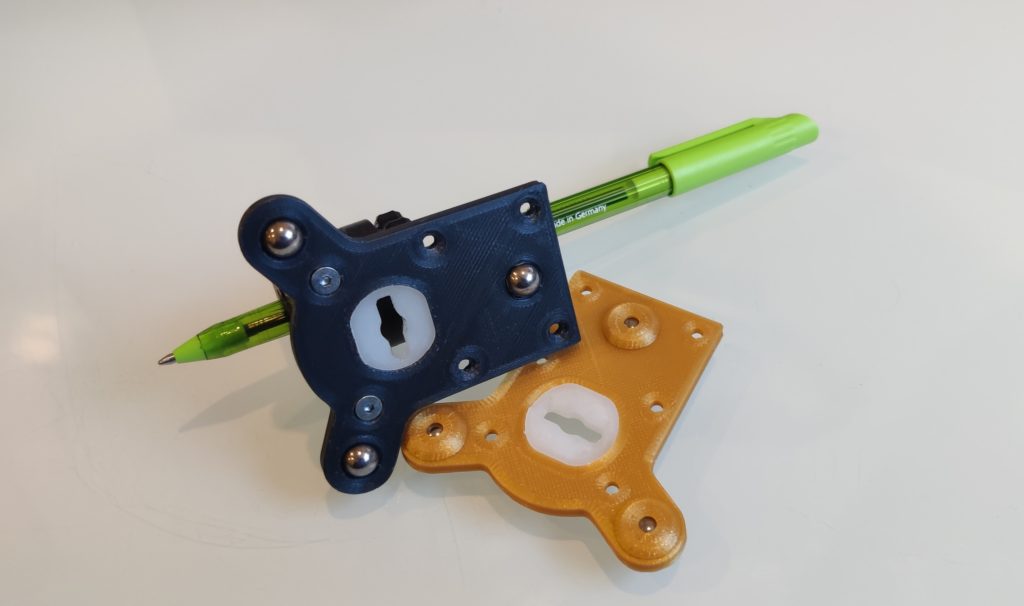
ramps printed out of nylon (@Diamondback) 
pen tool with 3D-printed toolplate (@Diamondback)