1st generation 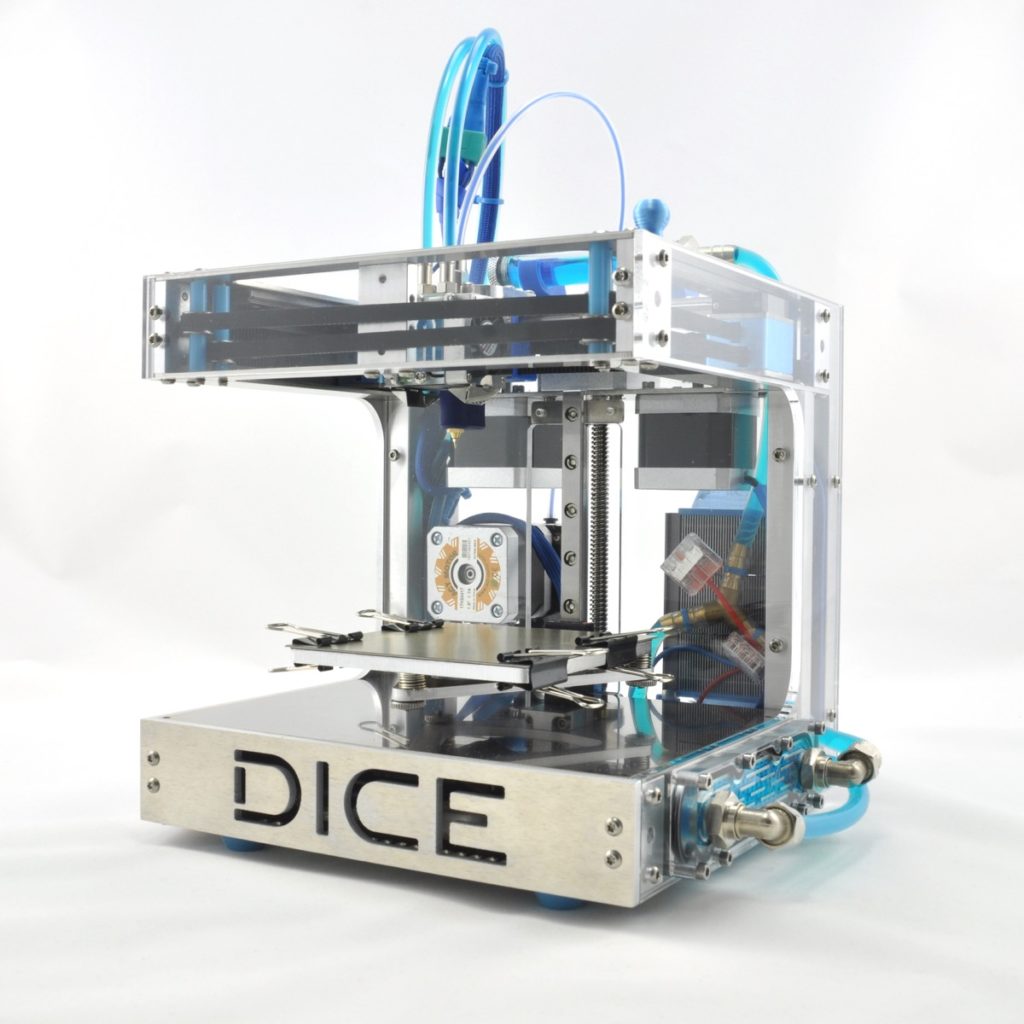
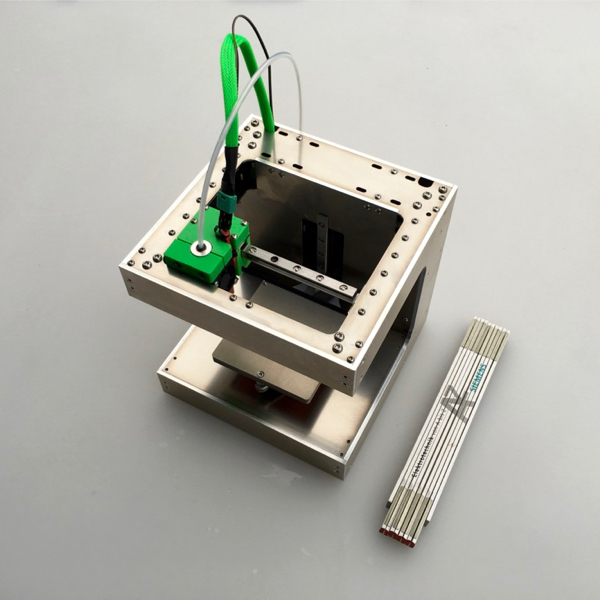
2nd generation + water cooled
Since several weeks I constantly did keep you curious for the second big DICE-update with little snippets of pics and videos in which you could barely see any detail. Now it is time: I tested it all extensively, pimped a DICE for a photoshoot and published all the data including the changelog to the dropbox-folder, like always.
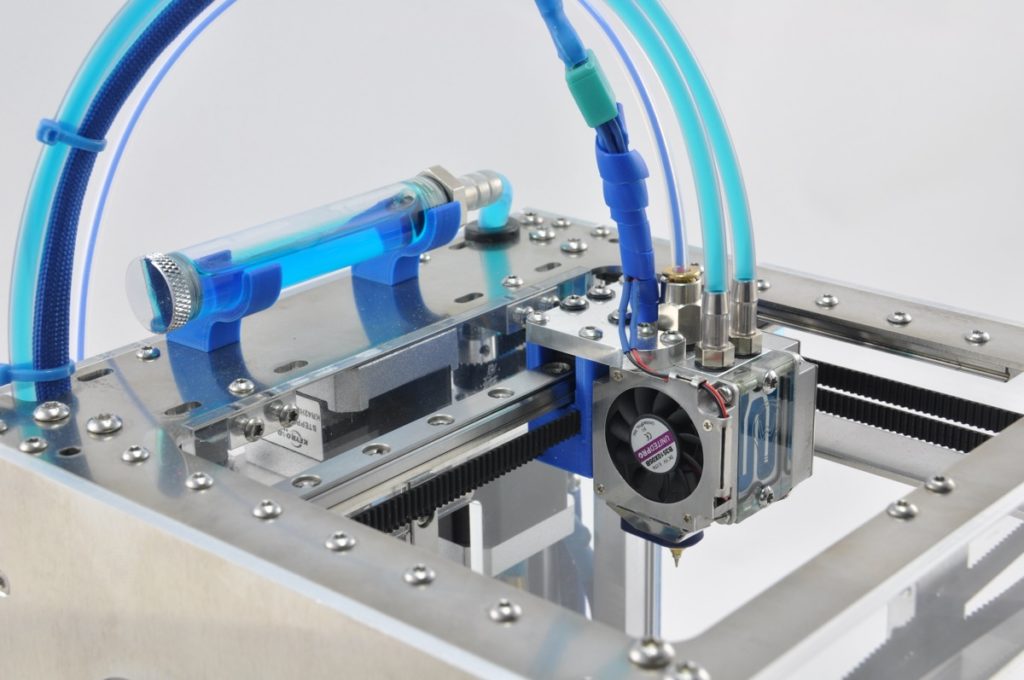
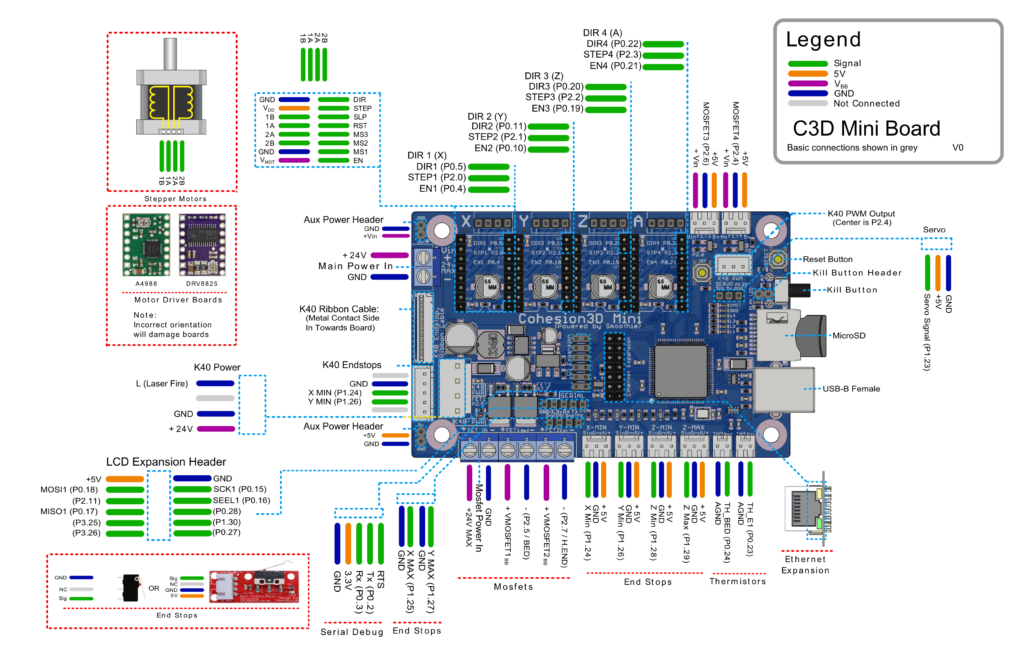
The #secondDICEupdate does bring you many new things and updates at several spots. The biggest part: A new and better controller board and watercooled stepper drivers and coldend:


click here for an interactive CAD-view!
(web-based CAD-viewer will open in a new tab)
But one after another. And don’t be deceived by the transparent enclosures, I mounted them for you to see more. The series parts are all made from aluminium or stainless steel. Here are all changes in detail:
CHANGED ENCLOSURE PARTS:
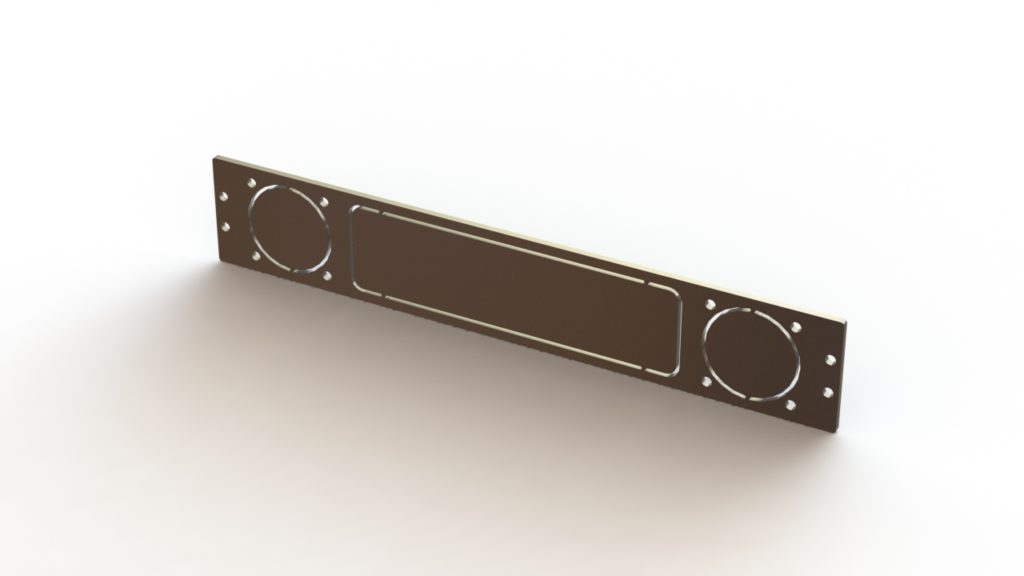
fan-sheet 
z-sheet 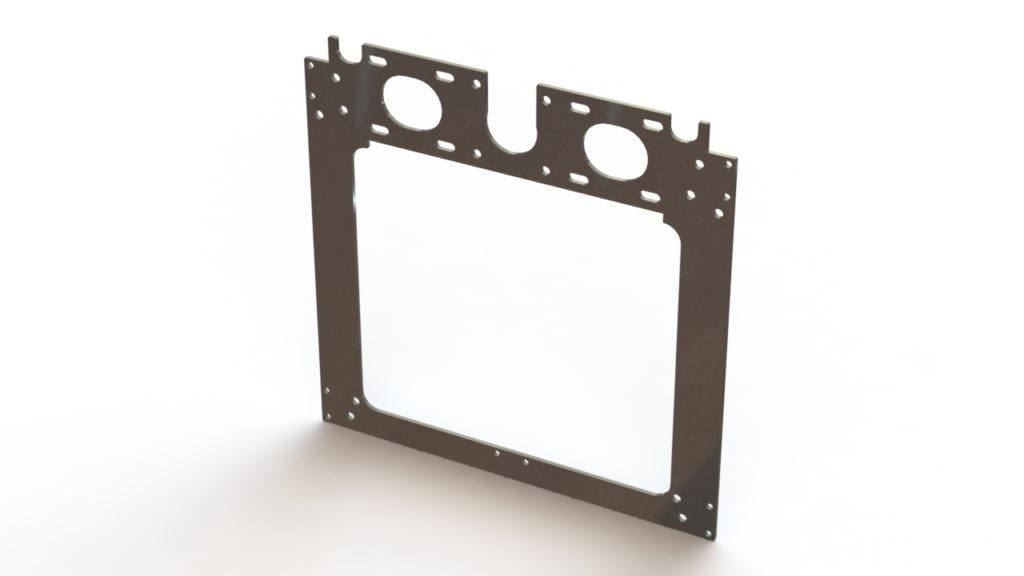
motor carrier 
faceplate
- bodenplatte.dxf: The bottom plate, where the electronics are mounted, got several new bores. This way, cable ties can be mounted more easily at critical spots, and more different controller boards can be mounted.
- luefterhalter.dxf: The narrow sheets, which holds the small 30mm fans for cooling the electronics, now has a large rectangular cutout in the center, which allows more space in the electronics compartment. In addition, two of the four connections of the fan holes were removed. The cutouts should now be easier to remove.
- z-achse.dxf: The middle support with the narrow hole in the electronics area has been completely removed. This means that there is now more space in the electronics compartment.
- traegerplatte_B.dxf: The hole through which the trapezoidal thread spindle of the Z-motor has been inserted is now open. This allows you to change the Z-motor without disassembling the entire DICE. Many thanks to Andre Reichert for this good idea.
- front_DICE.dxf: A front plate is now standardly equipped with the DICE-lettering.
NEW RECOMMENDED CONTROLLERBOARD: “COHESION3D-MINI”:
- The reason to recommend the Cohesion3D-Mini for the DICE is a very high failure rate of the AZSMZ-mini and zero support from the creator of the AZSMZ-board. The Cohesion3D Mini does only support 4 stepper drivers but has more FETs for fans and peripherals and is of a higher quality. It also has better connectors (easier to install wires) and 24V and/or 5V outputs that remove the need for the tiny stepdown-converters. The creator Ray Kholodovsky is an active dev with a support community on G+ and reacts quickly to nearly any question.
- The switch over to the Cohesion3D-Mini is possible without any additional adjustments and can be dropped in to replace the AZSMZ directly.
WATERCOOLING:
From now on it is possible to cool the stepper motors and the coldend with a very effective water cooling. This has several advantages:
- It reduces the volume caused by the small 30mm fans because they are no longer needed.
- A considerably smaller surface area is required for cooling at the heat source, since the heat capacity of water is many times higher than that of air. All in all, the water cooling only needs about 62cm² of surface area for coldend and driver cooling. Previously, only the coldend of the E3D-V6 had already 65cm² surface, the new coldend has only about 14cm² and all this with a clear improvement of the cooling performance. Nevertheless, a large surface must be present at a different location so that the heat absorbed by the cooling water can be released to the environment. For this, an 80mm radiator is installed in the back cover.
- The small size of the water cooling system enables the installation of two radiator fans for part cooling, without the print head becoming larger and thus loosing space for printing.
- The coldend is significantly better and more effectively cooled, allowing higher temperatures on the hotend. It also shortens the length of the transition zone, which has a positive effect on the printing properties.
- It was possible to design the water cooling optically appealing.
- Changed enclosure: backside – There is a different rear for the water cooling variant. This has various other cutouts for the radiator and the hoses. The 20mm bore is no longer open, but can be broken out if required.
- Radiator: On the backside the 80mm radiator is mounted in a space saving way with a suitable 80mm fan. I recommend to use a pressure-optimized fan, as this retains a high flow rate even when the voltage of the fan is reduced.
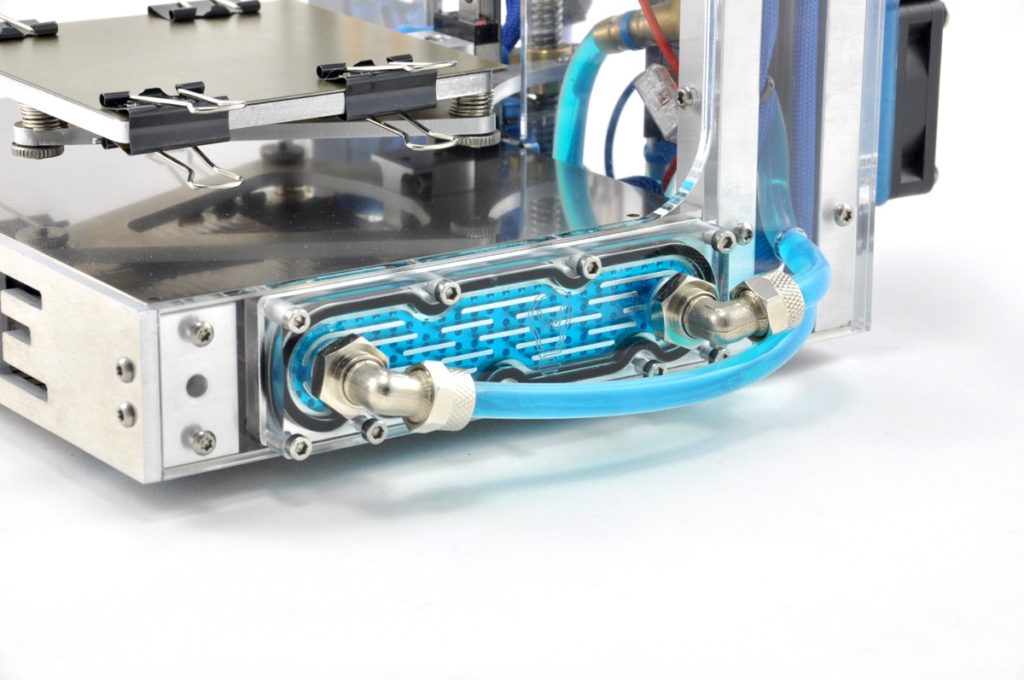
- Changed enclosure: right side – There is a different side plate for the water cooling variant. It has a large cutout in the bottom to accommodate the large cooling block for the stepper drivers. In addition, this sheet is made of stainless steel to prevent corrosion.
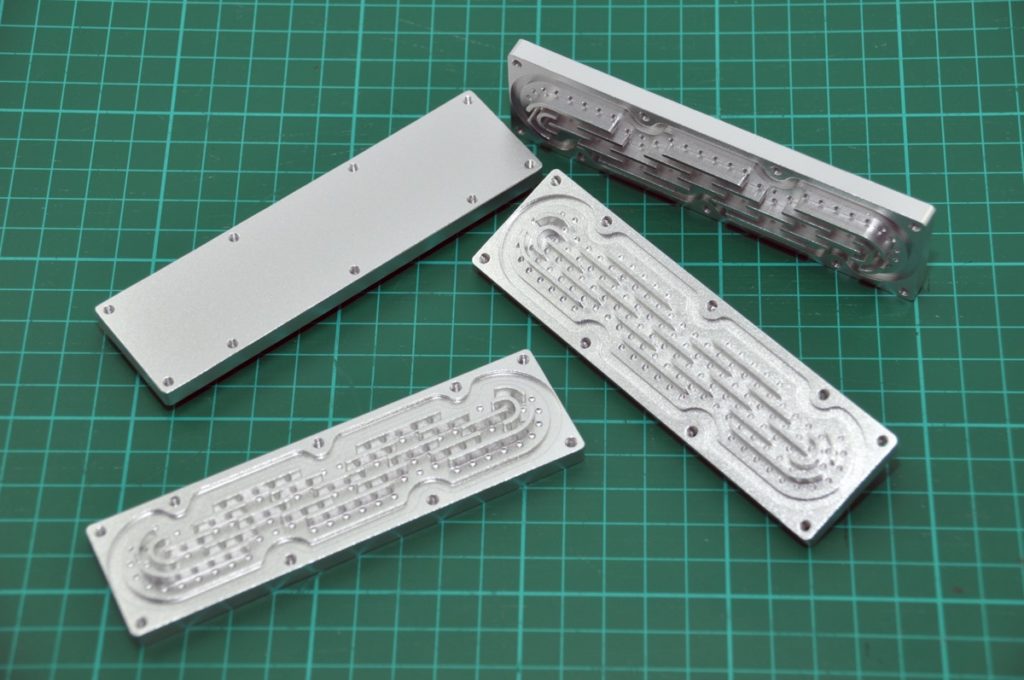
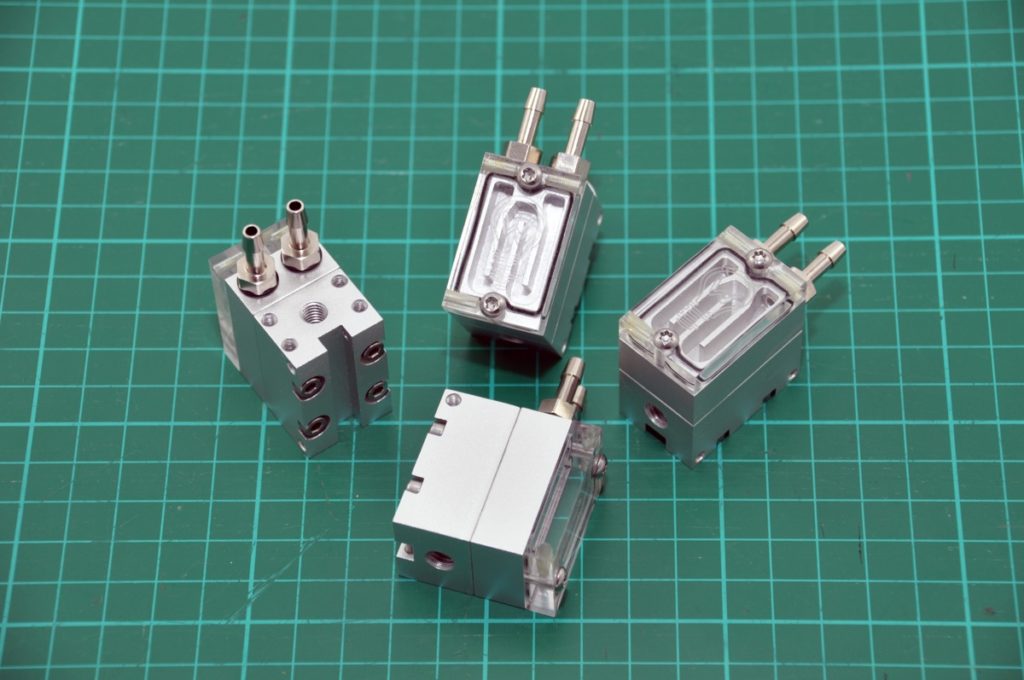
- Watercooling the stepperdrivers: The aluminum milled and anodised cooling block is placed in the hole of the right panel and sealed with a 2mm sealing ring. From the outside, a matching acrylic counterpart is also sealed with a 2mm sealing ring and screwed together with 9 M3 screws. In this acrylic cover are two holes with G1/4 female threads, into which commercially available hose connectors fit, e.g. from water cooling systems for PCs.
- The cooling block alone offers a little more than 48cm² surface area for the temperature exchange with the cooling water, then the side cover adds about 15cm². Due to the irregular shape of a serpentine line and the interrupted cooling ribs of different lengths, no uniform flow can be produced inside the cooler, and the cooling water also flows along every side. The 123 small holes also cause turbulence, the so-called surface effect is avoided.
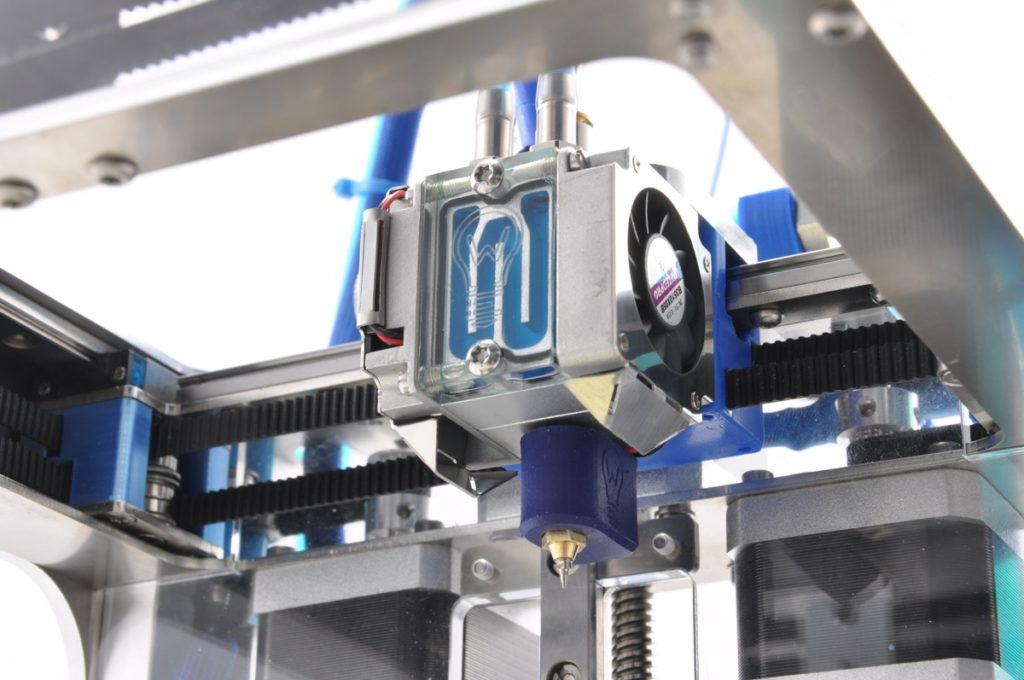
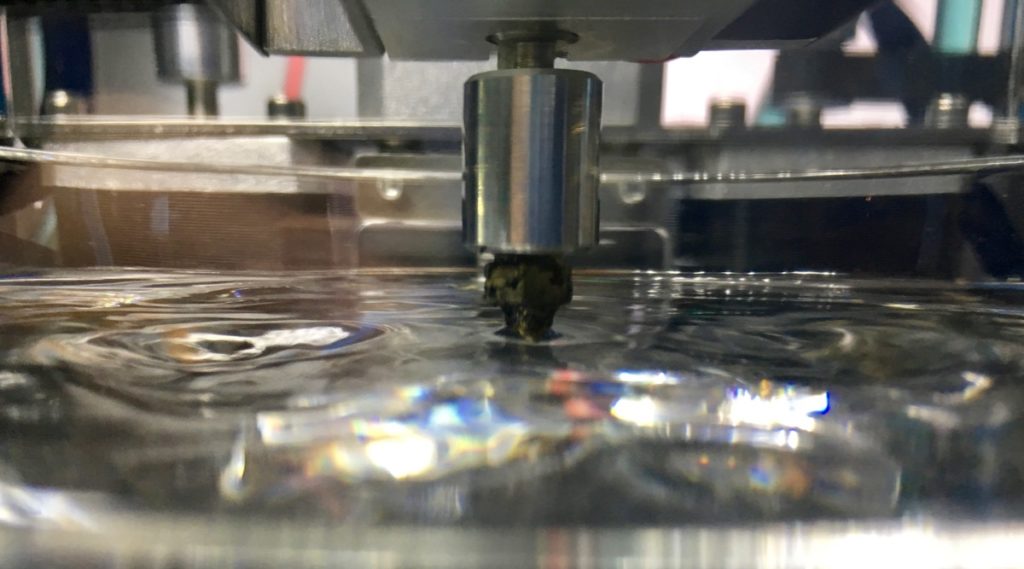
- watercooling the printhead: The newly designed print head consists of 3 parts: Two of these parts form the actual cooling block, the third part is screwed to this cooling block and serves as a separate receptacle for the heatbreak. This block has also a deliberately simple rectangular shape. As a result, it is possible for anyone to adapt the correspondingly required block to a different hotend-system and to make it themselves, so you are not bound to a particular type of tip or heatbreak. The cooling block ultimately needs only one flat surface, to which it can be screwed.
- A thermistor can be installed close to the heatbreak to control the cooling. The measured temperature then settled at my DICE at about 9°C above room temperature.
- printhead mount: The water-cooled printhead is now screwed to a 5mm thick aluminum bracket with 4 screws. If these 4 screws are loosened, the printhead can be removed for maintenance. The screws remain in the holder and allow a simple re-installation of the printhead.
- new part cooling: Because of the cooling of the printhead can be significantly more compact, there is now space for a second part cooling fan. These two fans are additionally provided with a new cover which at the same time serves as a guide plate for focusing the air stream. By the way, the cover is also used as a cable guide. The position and dimensions of the baffles were determined and optimized in practical tests.
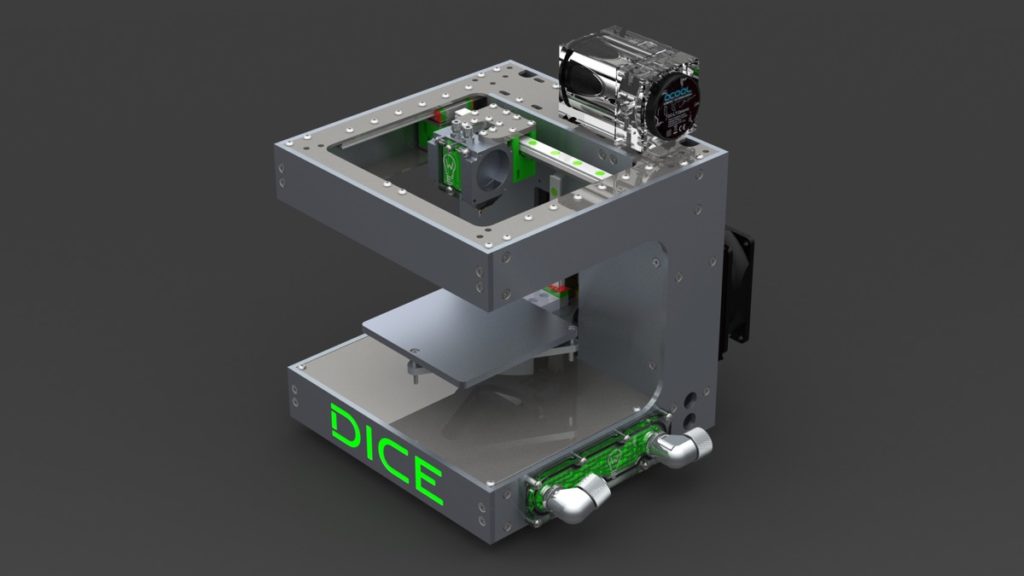
- Pump: The pump for the water cooling is mounted on the top of the DICE. I recommend the alphacool DC-LT with combined tank (both available for together 50€). The pump housing has suitable holes, so that the unit can be mounted with vibration dampers to the already existing holes in the top sheet of the DICE. These also affect the quiet running noise of the pump. The miniature pump recognizable in the photos of the blue DICE can of course also be used. However this is with 90 € + 45 € shipping somewhat more expensive. Especially since a voltage transformer (26 €) and the reservoir (15 €) additionally have to be acquired.
- colored cooling water: The transparent acrylic covers make it possible to color the cooling water and thereby to match the color of the printed parts of the DICE. In addition, the water cooling can be additionally set in scene. Initially, it was planned to use cheap vehicle coolant. However, the glycol in it (for frost protection) does pit the hose connectors and the acrylic. I therefore recommend using “colored water” e.g. buy it when ordering the pump at Aquatuning.de.
And if you didn’t know the DICE yet, here is a link to his first appearance:
DICE – tiny and superfast!


